Today we are preserving Daikon radish. The recipe is from my grandmom. She preserves tons of radishes during harvest season. It is so tasty, and she even sells it at the farmer's market. Now I live abroad, and this is one of the things that I crave the most, so I decided to preserve 50lbs. However, you don't have to make that much. I wrote the measurements for making only 5 lb of daikon radish. By the way, for those who can't find daikon radish, use carrot instead. I have tried it, and it came out just as delicious.

50 lbs may look like a lot. However, once you preserve it, you will be surprised how much it shrunk.
INGREDIENTS
- 5 lbs of daikon radish or regular carrot
- 4 tbsp of spicy chili flake or to your taste
- 2.5 tbsp of mild red chili powder
- 1 tbsp of sugar
- 2 tbsp of salt
- 1 tbsp of sichuan peppercorn powder
- 1/3 cup of minced garlic
- 2.5 tbsp of minced ginger
- 6 Thai bired chilies, diced
- 4 scallions, diced
- 1/3 cup of vegetable oil
INSTRUCTIONS
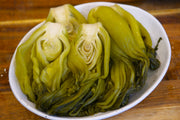
First, wash the daikon radish; Rub it with a soft sponge to get rid of any dirt. No need to peel the skin, and don't discard the radish stem as they are editable. Just be aware that there might be some sand stuck in between the stems, so be sure to rinse it thoroughly.

The next step is to cut the radish into sticks, Cut off the top. Split the radish in half. Stand one half up and use a sharp cleaver to cut it into a few slabs. Rotate the slaps by 90 Degrees and cut them into thick sticks. This looks hard but easy if you have a sharp cleaver. It took me about 15 minutes to go through all 50LBs of radishes.

The next step is dehydration. You can use an oven, a dehydrator or sun dry the radish outside. Since I am making a large amount, I use the dehydrator and the oven method. I am not going to dry the radish outside because it is the rainy season in FL.
Dehydrator Method: Line all the daikon radish on the dehydrator rack. and put it at 120 F for 13 hours.

Oven Method: Set the oven to the lowest temperature. In my case, it is 150F, which is still pretty high. Make sure you use something small to prop the door to allow the steam to come out. Let it dehydrate for 10-15 hours.

The next day, let me show you how they look.
The first basket came out of the dehydrator. The color is light and even. Dehydrator is the best choice as it gives stable results. I have 2 ovens. One is convection, and one is not. This basket came out of the convection oven. The color is a bit darker. That is because the oven temperature is higher. This is totally fine for the next step.

However, the rest of the radish came out of my non-convection oven. This batch was on the middle rack, so the consistency is similar to the convection oven. This batch was on the rack that was away from the heat. You can see they are wet and still need a long time to dehydrate. These 3 trays were close to the heat source, and they were all burned. I did not anticipate this happening. When I make this recipe for myself, I only go through 15 or 20 lbs of radish. The dehydrator is always my priority choice. Sometimes I will have a couple of extra trays of radish. I will put them in the oven, but I always use the middle rack. I guess this time the oven is overloaded and the heat can not circulate well. So learn from my 50lbs of mistakes.

Oh well, I still have plenty of radishes that are good for the next step - which is rehydration. You didn't hear me wrong. The dehydration makes the radish super crunchy. However, the seasoning can't infuse easily because it is too dry. So you have to add some moisture back.
Just soak the radish in boiling hot water for about 20 minutes. If you were sun drying the radish, hot water is good to rinse off the dust.

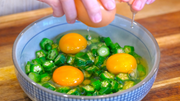
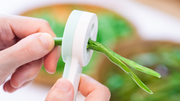
While waiting, you can prepare the aromatics. Big bundles of scallions can be hard to hold together if you got small hands like me. Instead, you can tie them with the rubber band that came with the purchase, which makes the dicing so much easier.
You don't have to peel the ginger as long as you wash it well. For a bulk recipe like this, a food processor is very helpful.
Garlic lover's alert; use as much as you like.
Thai bird eye chilies are optional if you don't eat spicy food.

Let's remove the radish from the water and drain completely. Press the radish firmly to squeeze the water out.
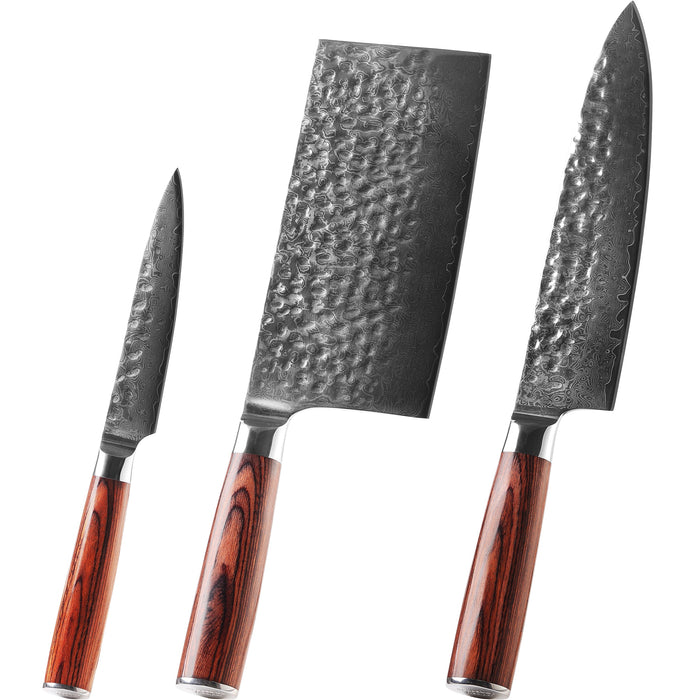
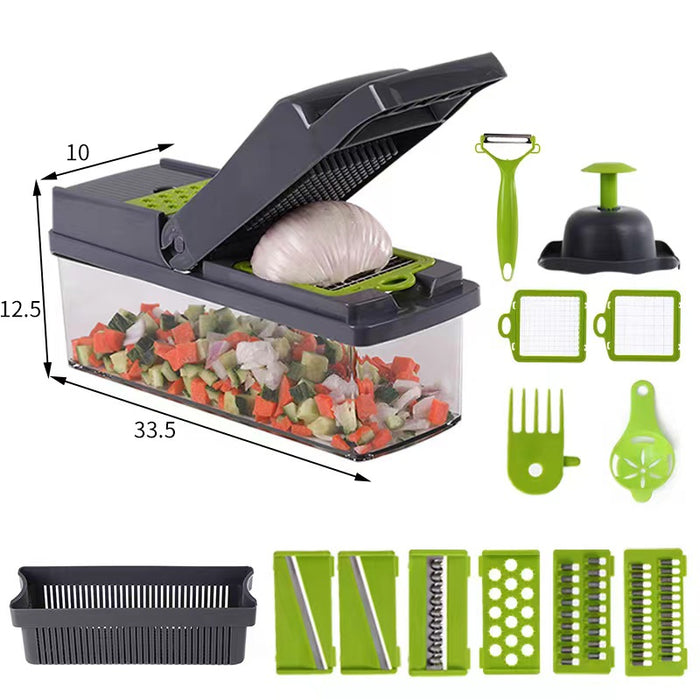
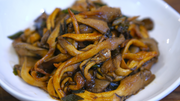
Dice the radish into bite-size pieces. If you don't want to spend the time, you could keep them in these strips. I prefer to cut them smaller so it is easier to eat. Besides that, I simply enjoy cutting. I know some of you are wondering about the cleaver that I am using. This knife is part of a knife set that I carefully put together at an affordable price. If you want to buy it, check the link in the description.

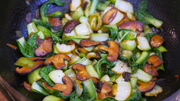
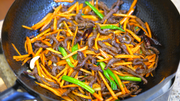
I put everything in a big stock pot so it is easier for me to mix without spilling. Add the diced aromatic, hot chili powder, and mild chili powder. I like to use multiple kinds of chilies in one recipe to adjust the color, fragrance, and spicy level. If you prefer mild heat, you can use paprika. Continue by adding the Sichuan peppercorn powder, sugar, and salt. Again, all the measurements are in the description. You can check them out if needed.
Heat the oil until smoking hot and pour it on top of all the aromatics in batches. Stir at the same time. Mix thoroughly. By the way, you can adjust the saltiness depending on your taste, but if you are making a lot at one time, like me, it is better to season it on the saltier side. That helps to preserve the radish, so it doesn't go bad easily. If you are just making a few lbs and you will eat it fast, you can use less salt.

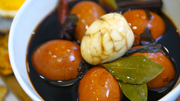
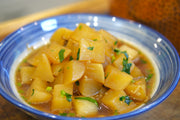
Let me taste it - crunchy, flavorful, and delicious! You can eat it right away, but it will taste even better if you let it ferment for a couple of weeks. Let's store it in clean and sealable containers. This will stay good at room temperature for six months or 12 months in the fridge.
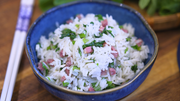
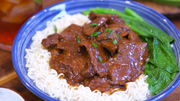
We usually serve this as a flavorful component of a meal. You can put it on top of any soup or congee, or white rice. Just like western people put salt and pepper on the table, we put out preserved vegetables. I hope you can give this a try soon. As always, the printable recipe link is in the description. Thank you for watching, and I will see you next time. Bye!