Snowy Mooncake w/ Custard Filling
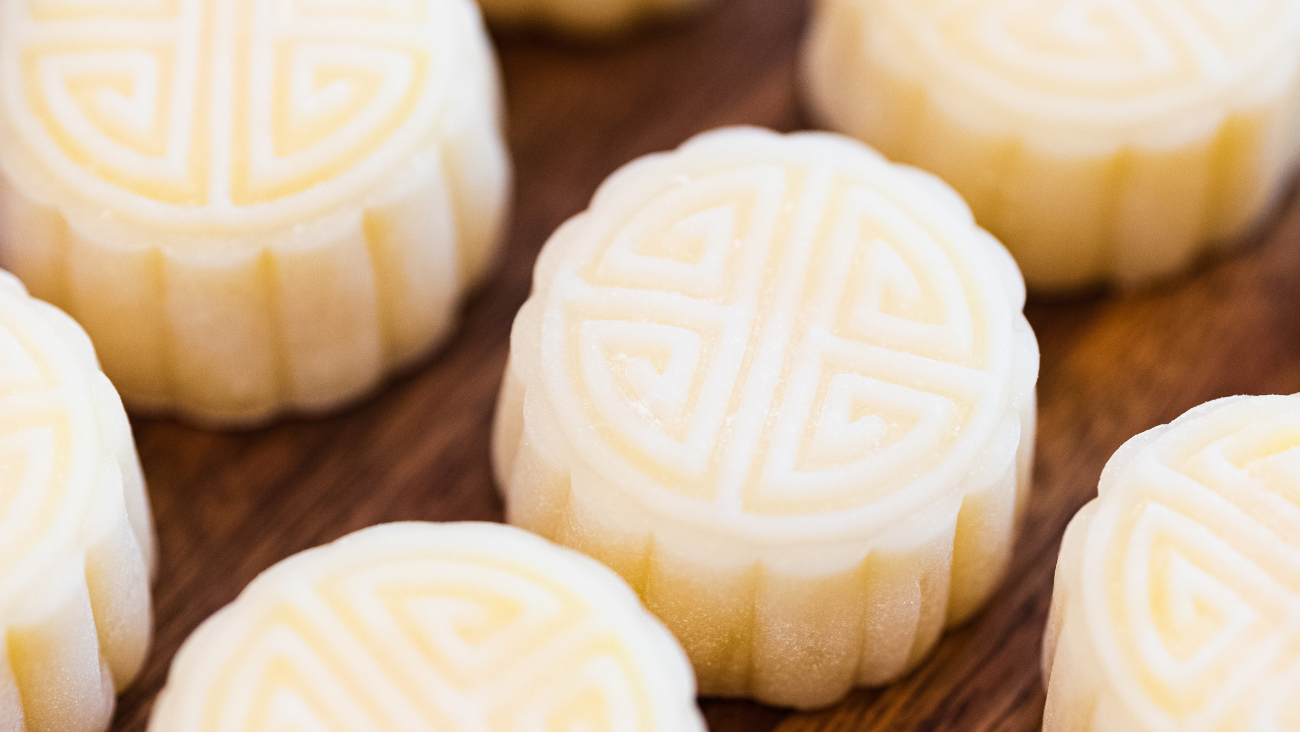
Last year, for the mid-autumn festival, I made a traditional Cantonese mooncake, which is very complicated.You can click here to learn how to make it. This year, I want to share something easy for beginners. This is called snowy mooncake because it is served cold and the wrapper is translucent – very pretty. This little dessert is a symbol of reunion. I wish that you and your family, just like the round moon on Mid-Autumn Day, be bright and perfect.

Let’s start by making the custard filling, what we called Nai Huang Xian, which literally translates as milk and yolk filling. Therefore, we will whisk one whole egg plus three egg yolks until you don’t see any obvious egg whites. You can go with two whole eggs if you don’t have any idea how to use the egg whites. I use 3 yolks because I want to get that bright orange color. Add 65 grams of melted butter and 160 grams of milk. Stir to mix.

In a separate bowl, combine the dry ingredients: 40 grams of cake flour, and 100 grams of sugar. Optionally, I will boost up the flavor with 25 grams of milk powder. Mix them well.
Pour the wet ingredients into the dry ingredients. Stir to incorporate. Pour the mixture into a saucepot. I like to let it go through a sieve to get rid of any lumps.

Turn the heat to low. Stir it constantly. In the first 6 minutes, the mixture’s consistency will not change at all. It looks like nothing is happening, but when it gets to 7 or 8 minutes, you will feel that the bottom of the liquid starts getting thick. Lift it up, you can see some solid bits on your whisk. Now speed up the stirring to ensure even cooking…… This part is quite tiring. Your arm might be sore. If you need to rest a little bit, that is ok, just make sure that the pot is off the stove.
Continue to stir until it becomes a thick paste, kind of like scrambled eggs; Now it is separating from the surface of the pot, that’s how you know it is solid enough. Let’s turn off the heat. Take it out and put it into a container.

Cover it with a plastic film. Make sure to push out all the air, so it doesn’t get dry. We will place this in the fridge and let it chill for at least 3 hours before we can shape them into balls. You can also make the filling one day ahead and leave it in the fridge overnight.geini
While waiting, we will move on to the wrapper. In a glass or ceramic bowl, thoroughly combine all the wrapper ingredients:
- 35 grams of glutinous rice flour, will give the mooncake that gooey stretchy texture.
- We don’t want it to be too sticky, therefore I will add 35 grams of rice flour to balance the texture so it doesn’t stick to your teeth.
- Add 25 grams of wheat starch. This is important to give the mooncake that translucent appearance.
- 30 grams of sugar
- 135 grams of milk
- 18 grams of sweetened condensed milk
- 18 grams of vegetable oil. This is very important because the oil prevents the starch from retrograde, so the wrapper will be soft and tender even if you let sit in the fridge.

The traditional way is to steam this on high heat for 30 minutes. But I figured that it is much faster to use a microwave. Cover this with a plate. Doesn’t need to be sealed completely. We just want to prevent the steam from escaping too fast.
We will do this multiple times. The first time, I let it cook for 1.5 minutes. It will come out partially done. Don’t worry, you just get a silicone spatula and mix it up. Put it back into the microwave for 1 minute. Take it out. Mix it again. Put it back into the microwave for 30 seconds. I cooked it for 3 minutes in total. Depending on the power of your microwave, the cooking time may vary. That’s why we are doing it gradually, so you can check the consistency. Once you don’t see any runny liquid, that means it is done. Cover this and give it 5 minutes to cool down a little bit.

We just want this to get to a point where it doesn’t burn your hand because I find that the dough is much easier to work with while it is still warm. If you let it cool completely, it takes much longer to knead it smoothly. I like to wear gloves because it is super sticky in the beginning. But the more you work with it, the smoother it will be. Within 5 minutes of kneading, it should be elastic and nonstick.

This looks beautiful. Now we are going to portion it out by using a scale. Each of them should be 20 grams. Roll it in between your hands until it becomes a smooth ball. Cover them so they don’t dry out.

Let’s take the custard filling out of the fridge and portion it as well. Each of them should be 30 grams. Again, roll it in between your hands until it becomes a smooth ball. Cover them so they don’t dry out.

Now I am going to show you how to assemble the mooncakes. It is a little bit tricky to roll the wrapper because it likes to stick onto the working surface and the rolling pin. I find it super helpful to put the dough in between 2 parchment papers and roll it that way. The wrapper doesn’t need to be perfectly round unless you have OCD. As long as it is thin and even, it will work fine.
I like to press the edge to thin it a little bit so when we close the mooncake, there won’t be a bit pile of dough sticking out.

Place the custard filling in the middle of the wrapper. Flip it upside down. Continue to push it down so you don’t trap any air. Flip it back up. Use your forefinger and thumb to squeeze it around. When you get to the very end, pinch to close it. Set aside and continue to wrap the rest. This recipe is enough to make 12 mooncakes. However, you can actually get 1 or 2 extra out of this measurement. Consider that as the beginner practice chances. LOL!

If you don’t have mooncake molds, you can just eat them like this. But since we are celebrating the mid-autumn festival, let’s add a sense of ceremony to this dessert.
Before we do that, toast 2 tbsp of glutinous rice flour in a non-stick pan over medium low heat for a couple of minutes or until the glutinous rice flour becomes a little bit off white. We will use this as a dusting powder to prevent the mooncakes from sticking to the molds. You don’t want to use raw glutinous rice flour as there is not further baking involved.

The wrapper is 20 grams, the filling is 30 grams so we will be using the 50 grams mooncake mold today. This is a bite size dessert, which I think it is perfect for these snowy style mooncakes. Of course, you can always combine 2 and use the 100 grams mold to make 6 bigger mooncakes.

Alright, this is my favorite part. Dust the mooncake ball with a little bit cooked glutinous rice flour. Even it out and shake off the excess. Shape it into a cylinder first. Then press the middle so it doesn’t bulge up. Carefully place it into the mold. Again, press the bottom so it doesn’t buldge up. Use some force and push it down onto a parchment paper. Stay there for 15 seconds to establish the shape. Then release it. Look this is – so pretty. I love molding mooncakes, it is so satisfying to see them come out nice and neat.

Take a bite – it is milky and creamy. The wrapper is soft and gooey. This little dessert is a symbol of reunion. I wish that you and your family, just like the round moon on Mid-Autumn Day, be bright and perfect.