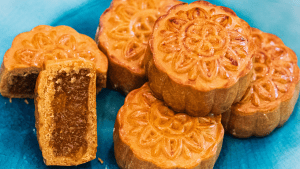

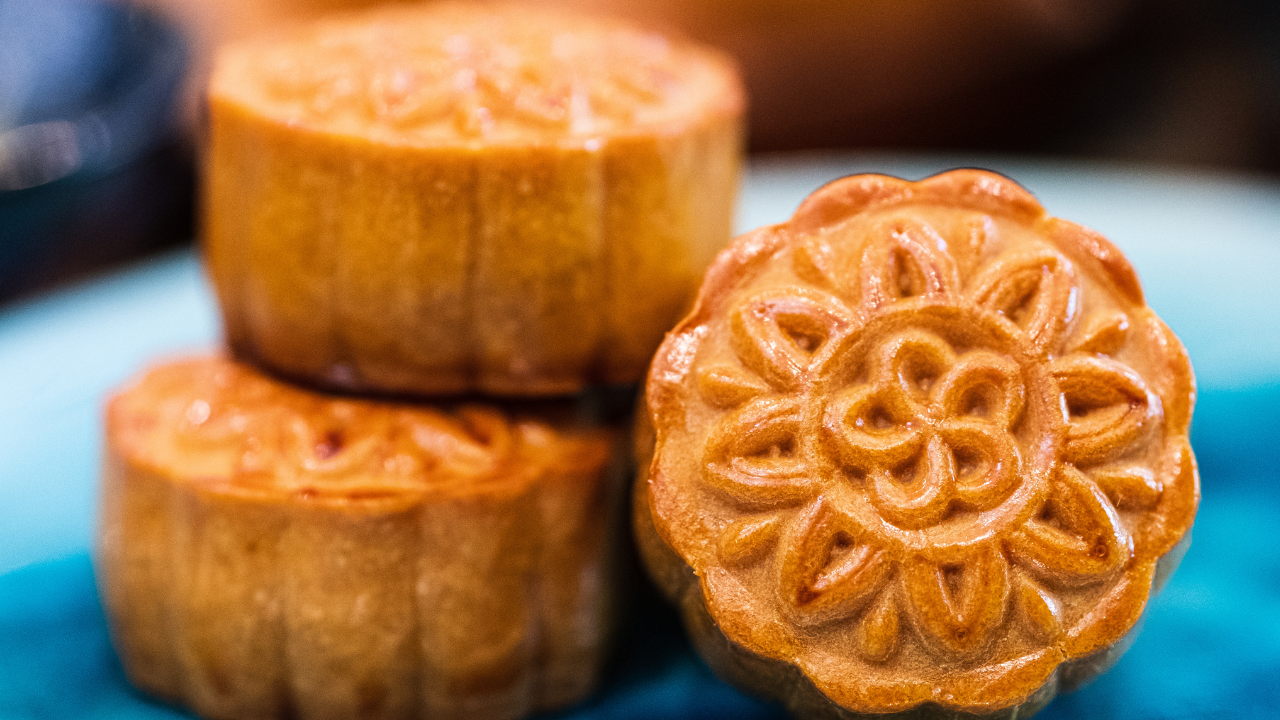
Pineapple Mooncake (凤梨月饼)
Rated 3.6 stars by 65 users
Author:
Pineapple paste is a classic fruit mooncake filling. I innovatively put some lemon zest because the pineapple flavor goes well with the citrus aroma. We used a lot of sugar, but the tartness perfectly balances the sweet taste.
Ingredients
For the filling (25 grams each)
-
850 grams (30 oz) of pineapple meat
-
125 grams (4.4 oz) of sugar
-
60 grams (3 tbsp) of honey
-
22 grams (1.5 tbsp) of lemon juice
-
2 tbsp of lemon zest
For the wrapper (25 grams each)
-
235 grams (8.3 oz) of cake flour
-
125 grams (6.25 tbsp) of inverted syrup or honey
-
3.5 tbsp of vegetable oil
-
1/2 tsp of salt
-
2.5 tsp of Lye Water (optional)
Other Ingredients Needed
-
1 egg yolk
-
1 tbsp of water
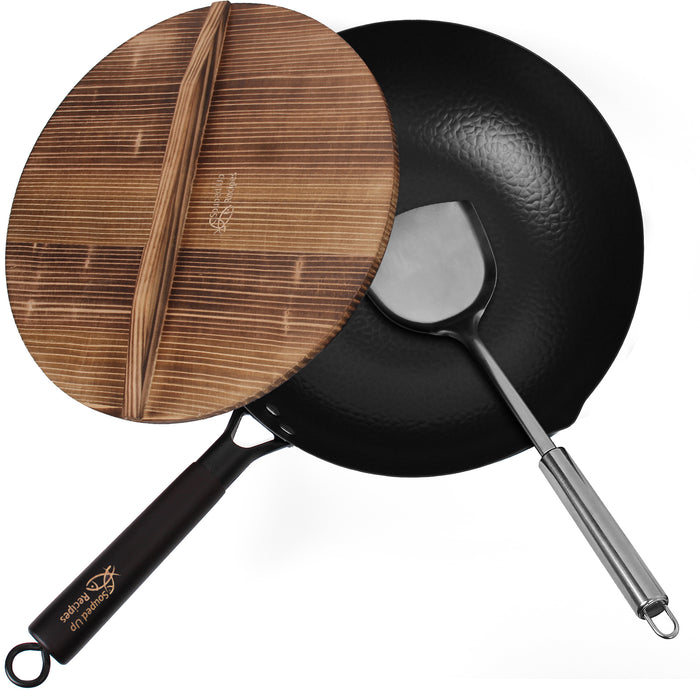
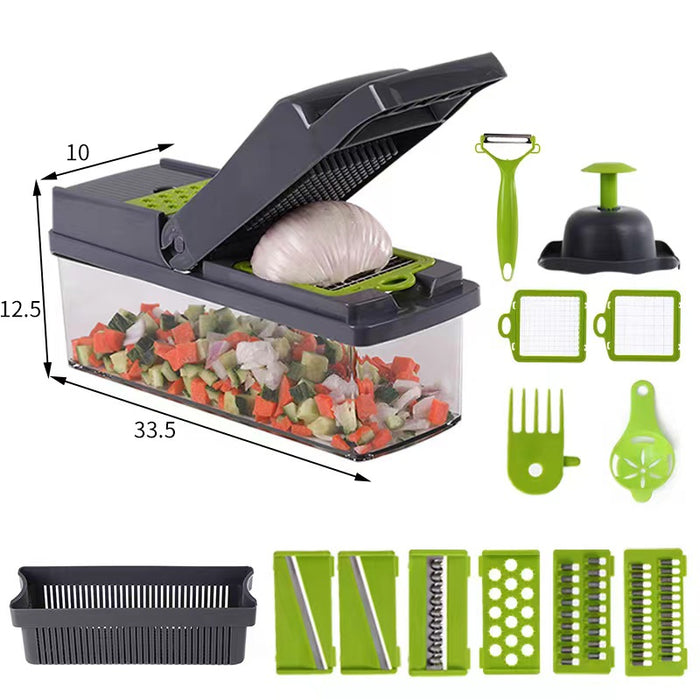
Products Used:
Directions
Make the Pineapple Filling
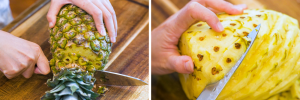
Cut off the top of the pineapple and peel it. Then use a pairing knife to remove the eyes.
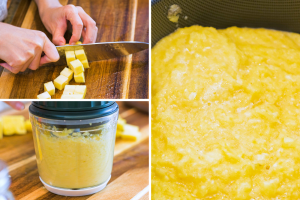
Cup the pineapple into bite-size pieces. Separate the hardcore and crush it in a food processor first, then blend the rest of the pineapple flesh into a rough puree.
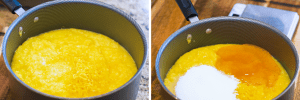
Transfer all the pineapple puree into a non-stick pot, then add lemon zest, lemon juice, sugar, and honey. Honey makes the filling easier to divide, so don't skip it.
Simmer the pineapple puree over medium-low heat until you get 440-460 grams of pineapple paste. This process will take 20-30 minutes. In the beginning, when the puree is wet and running, you can let it simmer on its own. However, once most of the moisture is gone, and the paste becomes thick, you have to turn the heat to low and stir it constantly, so you don't burn it.
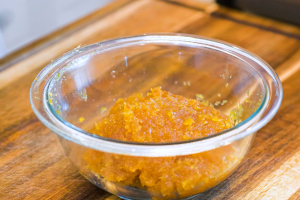
Transfer the pineapple paste into a sealed container and chill in the fridge until lukewarm.
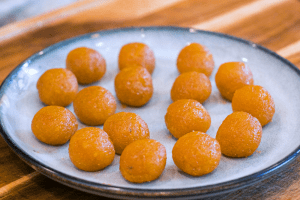
Portion the filling into 16 pieces; each one should be 25g. Roll them in between your hands into a smooth ball. The jam is thick and sticky; It is best to wear gloves.
Cover the pineapple balls and set them in the fridge while working on the wrapper dough.
Make The Mooncake Wrapper
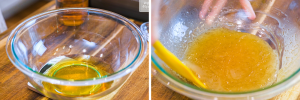
In a big mixing bowl, combine all the wrapper ingredients except the cake flour. Stir until the syrup and the oil is well-combined, then add the cake four and mix with a rubber spatula until a smooth dough forms.
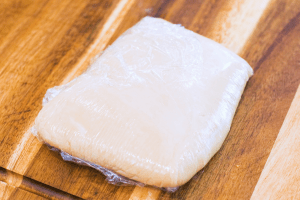
Wrap the dough in plastic film and rest at room temperature for 30 minutes.
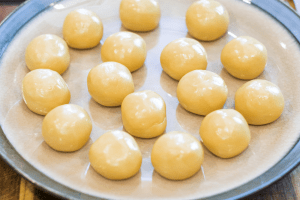
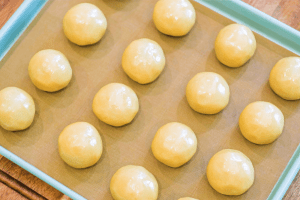
Divide the wrapper dough into 16 pieces; each should be 25 grams. Roll them in between your hands into smooth balls.
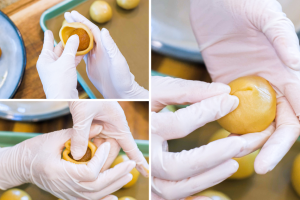
Wrap the Mooncake
Take a wrapper dough and use your thumb to poke it in the middle. Then, keep spinning and shape it into a little bowl.
Place the filling in. Use your forefinger and thumb to squeeze around and push the wrapper up. When you get to the very end, carefully pinch to close it. Roll it in between your hands to make it perfect. Recommend wearing gloves because the wrapper is a bit sticky.
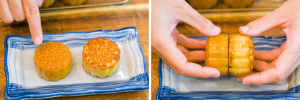
The filling is 25 grams; the wrapper is 25 grams so you will need a 50-gram mooncake presser. You can bake them without the presentation if you don't have one. The taste is the same.
Take a mooncake ball and dust it with some cake flour, then put it into the mooncake mold. Gently press it down onto a baking pan lined with baking paper. Stay there for a few seconds to establish the shape, then release it.
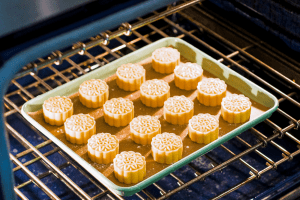
Bake the Mooncake
Spray some water onto the mooncakes, then bake in a 350F oven for 8 minutes.
While waiting, mix one egg yolk with 1 tbsp of water.
Take the mooncakes out. Brush the egg yolk onto the surface, including the sides. Don't brush too much; otherwise, the egg will create a film and ruin the beautiful pattern. If that happens, carefully dab the excess egg with kitchen paper.
Stick them back to the oven and bake for 8 minutes.
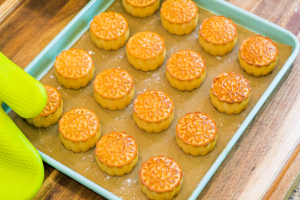
Take the mooncakes out again and brush another layer of egg yolk. Put them back into the oven and bake for another 8-12 minutes; This will be the third and the last time baking. Every oven is different. Please stay next to the heat and pull out the mooncakes once the skin is golden brown.
Put the mooncakes in a sealed container and leave them in the fridge for three days before eating. This process is called "回油 (Huiyou)" in Chinese. It makes a huge difference in taste and texture. Freshly baked mooncakes are hard and dry. After "Huiyou," the color of the mooncakes will be even; the wrapper will be soft and moist; the aroma will be more intense and complex.